Part 5 - Editing in Photoshop 2
In part 4 I began making my adjustments in Photoshop. The approach I chose was to make global adjustments concentrating on local areas. Then merge those adjustments into new layers and mask for the local areas.
Now with all of those local adjustments made I again merge them into a Master layer.
Bringing Back the feeling
HDR images by nature alter the basic tonality of the scene. I won't go so far as to say they destroy it but depending on how far you have pushed it the resulting image may look completely different from the original scene. My use of HDR is to help hold the detail of a scene and not overpower it into an unnatural mess.
In this case I feel that I have lost some of the dark and moody feeling of the original scene. I might be able to bring some of it back by carefully manipulating the image from here but I have a better tool. The original images that the HDR was blended from contain the real tonal balance of the scene. Brining one of these images in on top of my master I can use it to bring back some of the original tonal balance and restore some of the mood to the image.
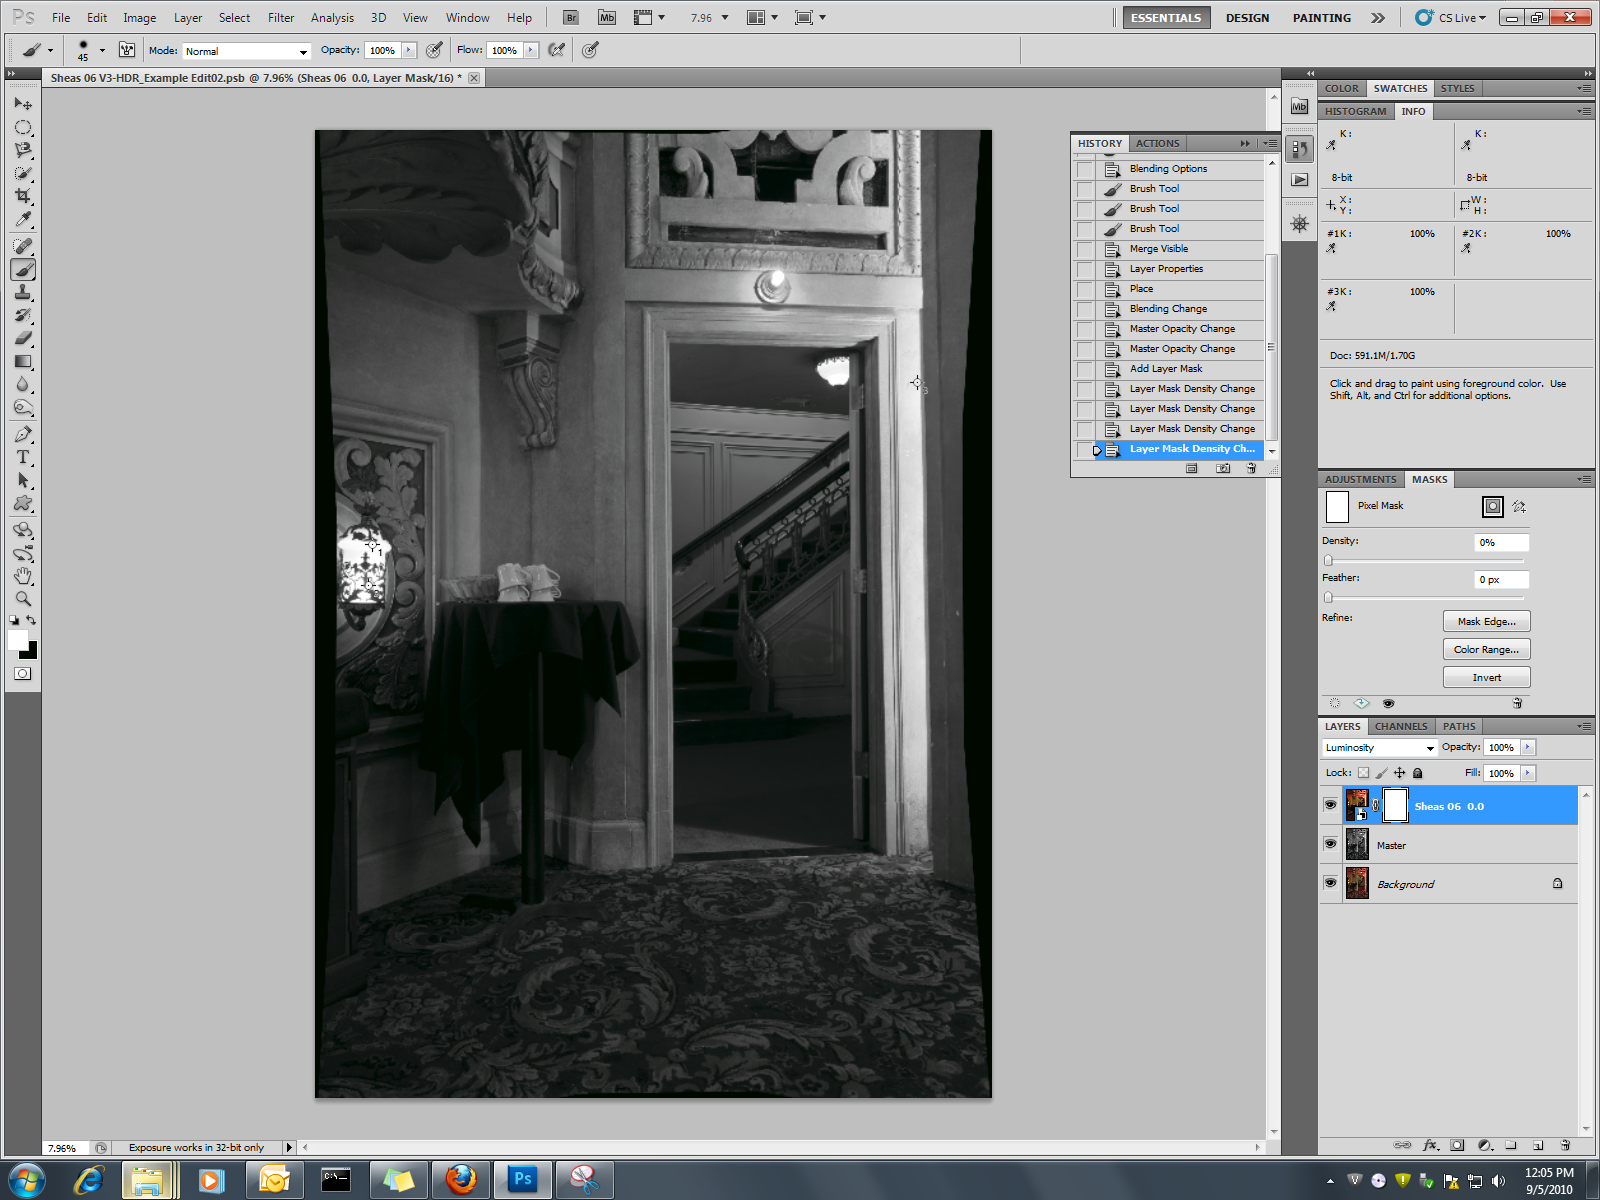
I imported the original normal exposure into Phoshop above my master layer and set the blending mode to Luminosity. Comparing the illustration below to the HDR you can see that the HDR contains much more image information but they mood and balance has been completely altered.
 |
| Original image imported into a layer and mode set to Luminosity |
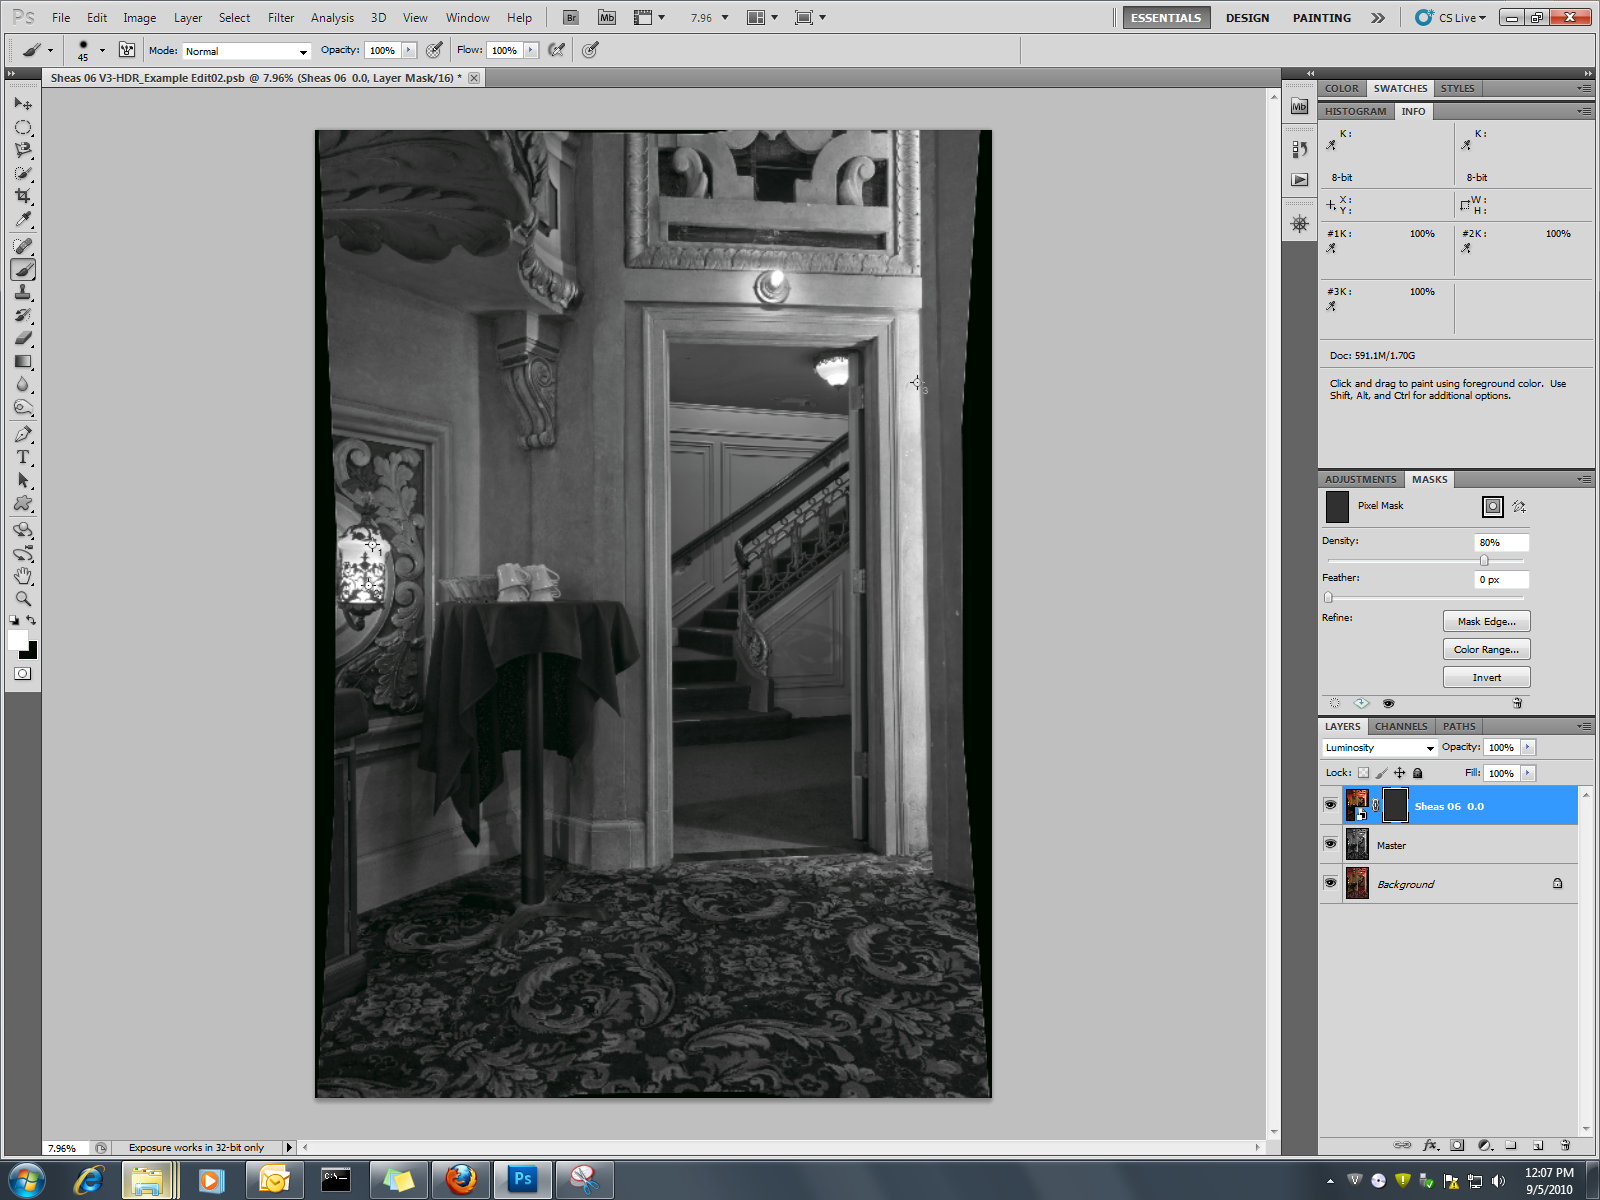
Bringing back all the mood also overpowers the shadow and highlight detail that I worked to preserve. It's an easy fix though. I masked the new layer with black and then faded the mask to 80%. I chose this method instead of lowering the opacity of the layer because this gives me the option of painting the mask to allow for altering it's effect in local areas while keeping the layer at 100%.
 |
| With the mask added |
Reconstruction
When I shot the source images I made a dumb mistake. When I framed the image at 17mm I forgot to leave a little extra space around the frame to account for the 20% overlap. That means I lost some of the detail around the edges. Sometimes that's not a big loss but this time I feel really bad about losing the details on the left side of the image by the lamp. It feels to me that the image is cropped too tight without them. It would be next to impossible to recreate the details in this area by borrowing from other parts of the image. I did also have a reference frame shot before I started stitching. I was able to scale this image up to the same size and then copy the missing parts into this image although at greatly reduced detail. On the right side of the image I used the content aware fill feature of CS5 to recreate the missing detail.
The final snap
With all my adjustments completed I flattened the image and saved it. As a last step I am going to clean up some of the haze that gets introduced by the HDR blending process. This step could be accomplished using third party tools such as Topaz Labs Adjust. I find that the haze can be easily reduced and the snap brought back by using unsharp mask set to a low amount with a high radius. I duplicated the background layer and then applied unsharp mask with 20% and and radius of 90 pixels. I zoomed to 25% and added a mask to the layer. I filled the mask with 50% to reduce the global effect. I switched to a white paint brush and set the opactity to 10% then carefully painted some of the softer areas that needed some texture brought back. I then adjusted the opacity of this new layer until it looked good.
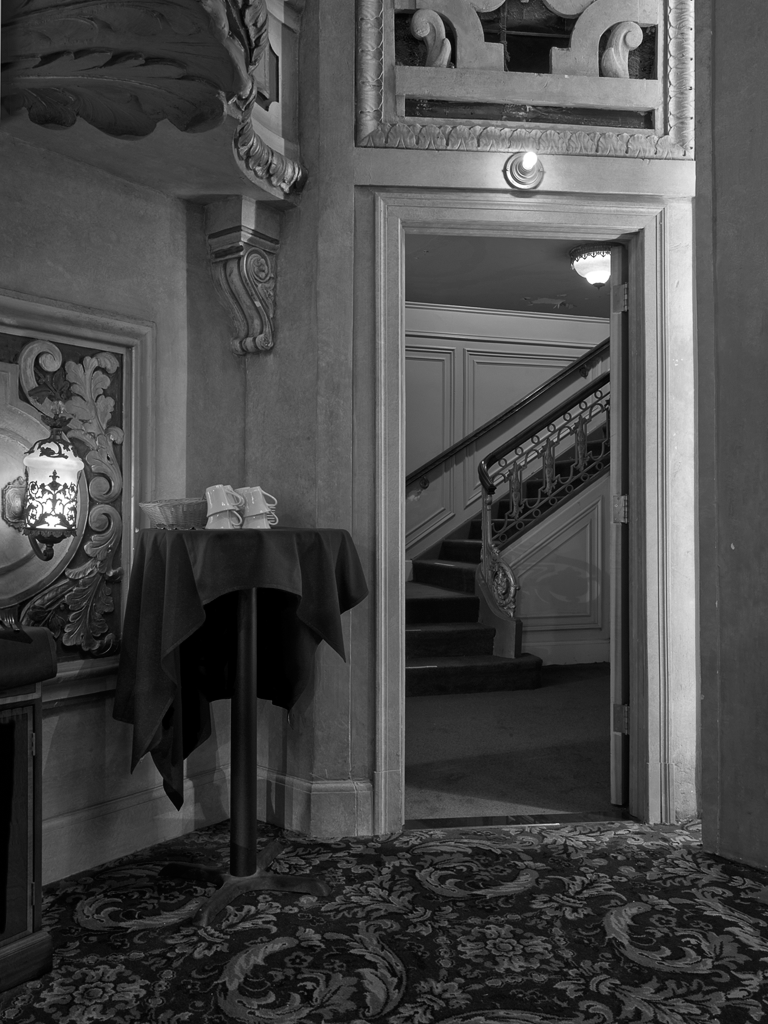
Below is the final image.
 |
| Sheas Theater |
Thanks for taking the time to browse through this example. I've tried to be detailed but there is always a chance that I've missed something important. Please don't hesitate to contact me if I've left something out or if you have any questions.
|